Changing iTop logos
Goal
In this tutorial, we will learn how to change the iTop
logos
By default the admin console will have an iTop logo in its menu :
When fully opened: ![]()
And when collapsed: ![]()
Those logos can be customized with the following procedure.
with the Designer
Prerequisite: You must be a Combodo's customer
Upload logos
-
Open the “Branding” tab
ITSM Designer - Combodo's customers only
This view allows you to replace the iTop logo with the one of your choice.
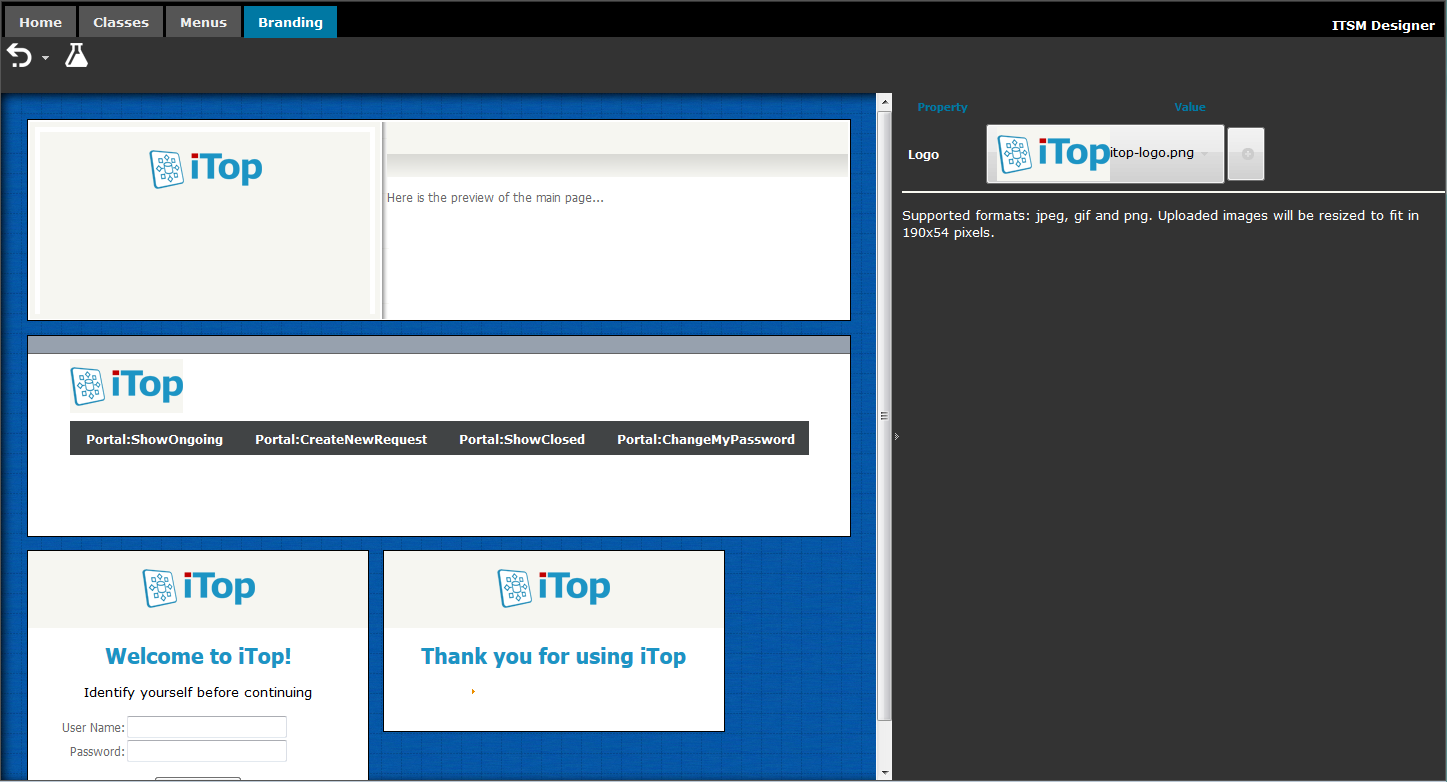
Select another logo in the drop-down list, or use the button
![]() to upload your own
logo.
to upload your own
logo.
The image file formats supported are:
-
Portable Network Graphics, or PNG. This is the recommended format for iTop 2.7 and before, as it allows for a transparent background for a better integration into the iTop GUI.
-
Joint Photographic Experts Group, known as JPG or JPEG.
-
Graphics Interchange Format, or GIF.
-
Scalable Vector Graphics, or SVG. This is the recommended format for iTop above 3.0 only
The image will be resized to fit to the UI of iTop.
| Logo | Dimensions in pixels | |
|---|---|---|
| Before iTop 3.0.0 | After iTop 3.0.0 | |
| Main | 220*64 | 310*70 |
| Main compact | n/a | 74*74 (displayed is 37*37) |
| Login | 300*54 | |
| Portal | 192*50 | |
with an iTop Extension
Prerequisite: You must be familiar with the Syntax used in Tutorials and have already created an extension.
You will need to :
-
create a new extension
-
add the new files in the extension
-
declare logo overwrite in the extension's XML
Add files
To add the logo image files, you can either :
-
Add the files directly in your module. To use them, you'll need to specify a relative path (module code + file name)
-
Add the image data in the XML (see the XML reference on logos). To use them, specify the fileref id
Define logos
The logos can be redefined in the XML branding
node. In the example below :
-
main_logo_compact(logo with menu collapsed - for the one displayed in the expanded menu you should customizemain_logo) : use an image file contained in a module -
login_logo(displayed on the login page) : use a fileref
<?xml version="1.0" encoding="UTF-8"?>
<itop_design xmlns:xsi="http://www.w3.org/2001/XMLSchema-instance" version="1.0">
  <branding>
    <main_logo_compact _delta="define">sample-itop-logos/custom-logo-compact.png</main_logo_compact>
    <login_logo _delta="define">
      <fileref ref="custom-logo"/>
    </login_logo>
  </branding>
</itop_design>
Summary
A working example can be found in this repository : Combodo/sample-itop-logos