
Getting Started with iTop Designer
iTop Designer - Combodo's customers only
Here is a step by step description on how to get started using iTop Designer.
It assumes that:
-
you have and active iTop subscription, covering the usage of this proprietary tool,
-
you are already familiar with iTop,
-
you have already installed one of the iTop products.
After completion of the tutorial, you will be ready to use the Designer. Despite you will have a first idea of what can be done with the Designer, we strongly encourage you to further read the documentation, and in particular become familiar with a few principles that make the Designer.
The information required to follow the steps are:
-
a login to your iTop installation (administrator priviledges)
-
your licence key, provided by Combodo
-
your Combodo customer login (your email)
Launching iTop Designer
Log onto you iTop (product) installation.
In the menu Admin tools, click on iTop Designer…
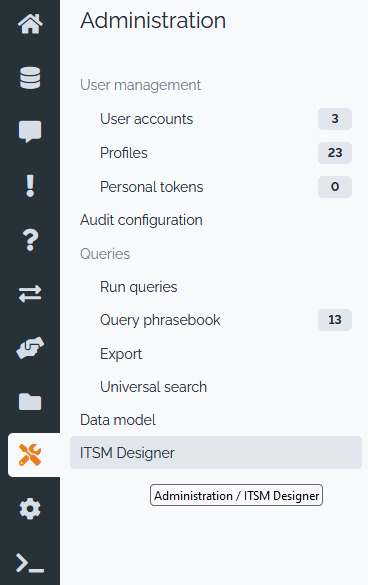
Click on Jump into iTop Designer…
Entering the Designer
This step is already done for SaaS Tailored instance

Enter you email and password, then click on Login…
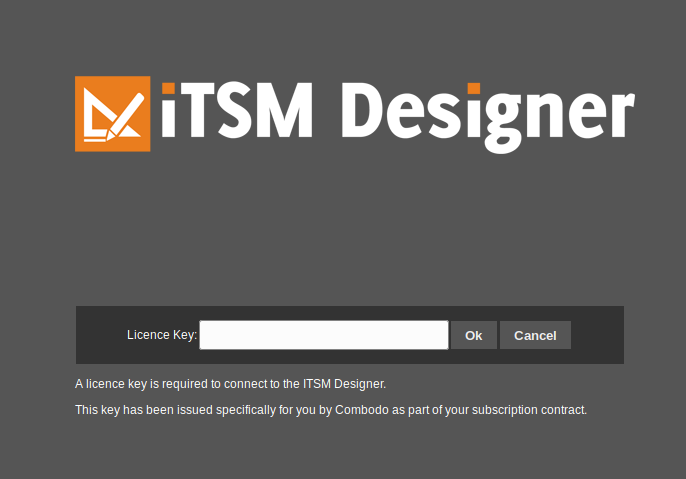
Enter your product licence key and click on Ok…
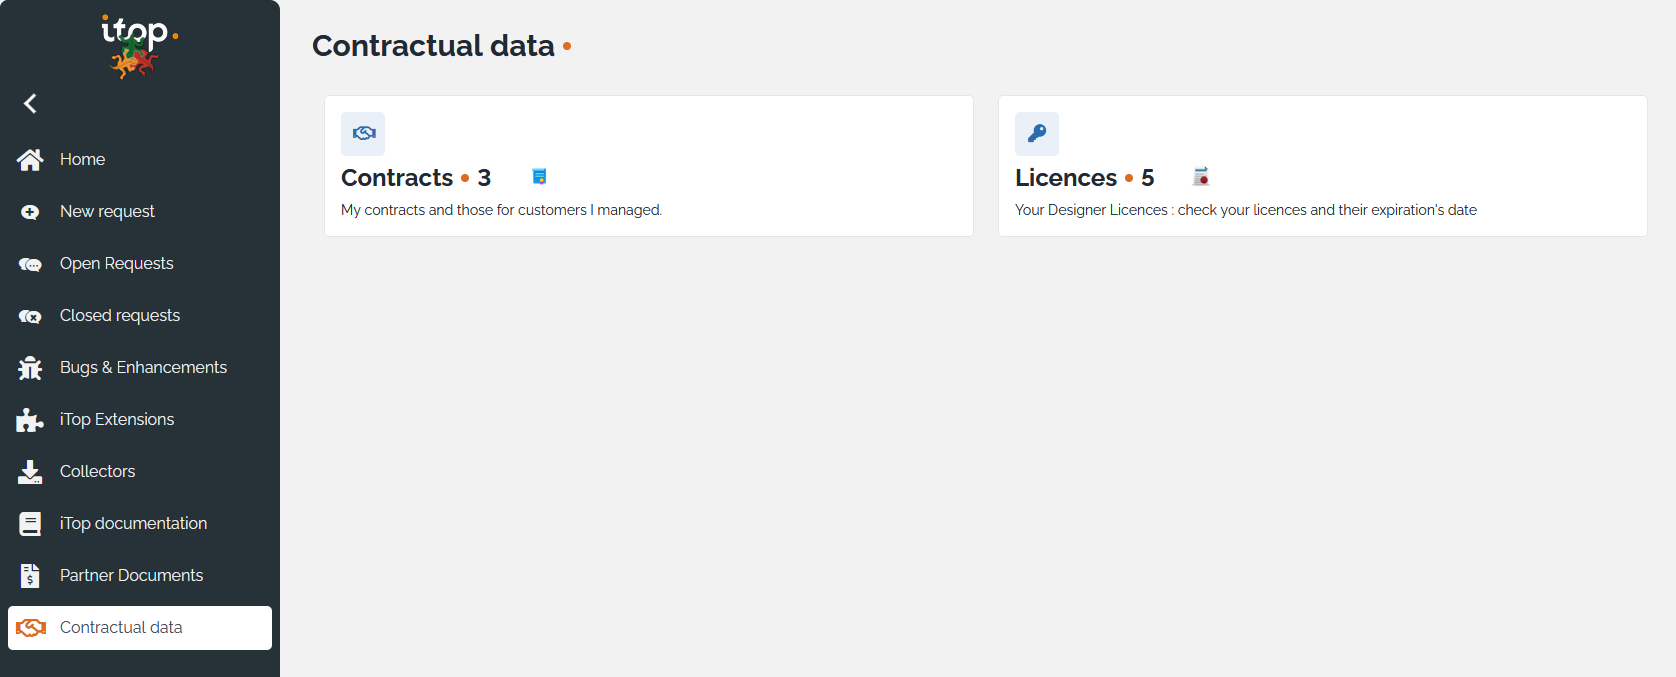
If you don't remember your licence key, you can get it on this portal, under the “Contracts” menu and the “Licences”
/data directory, delete the
file /data/instance.txt on the newly cloned iTop
before connecting it to iTop Designer with your licence keyCustomize your application
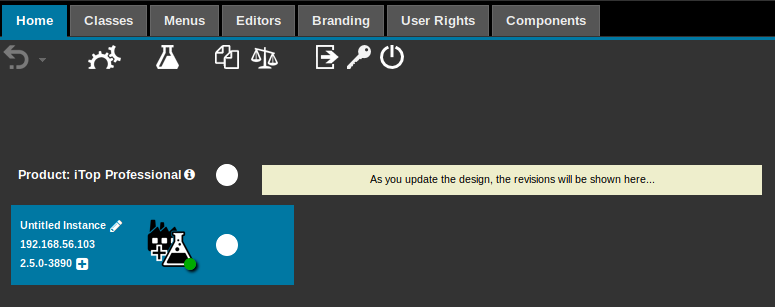
Click on the tab Branding.
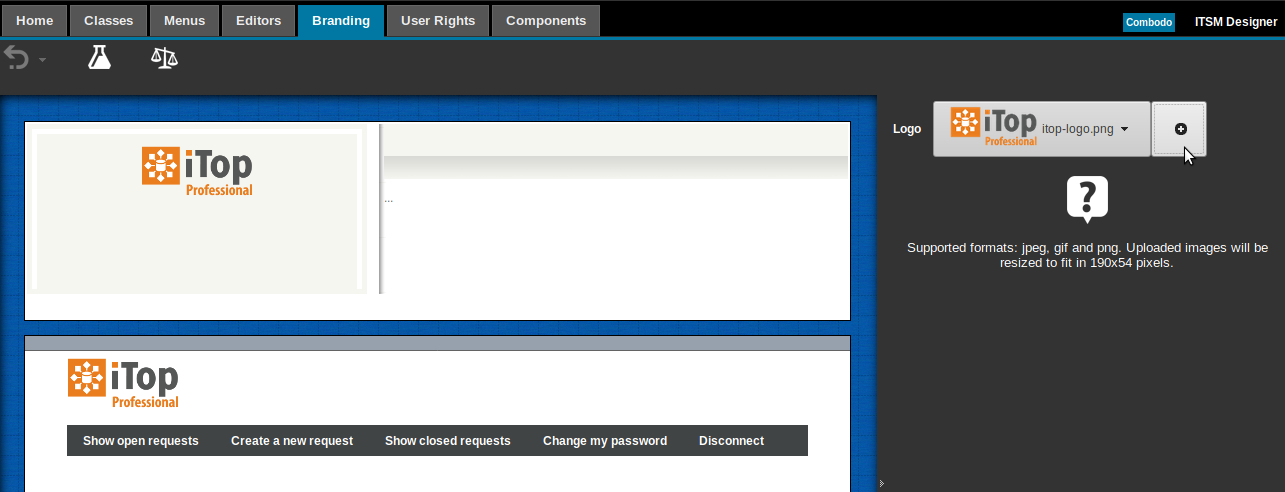
In the right pane, click on the plus button to pick a new logo…
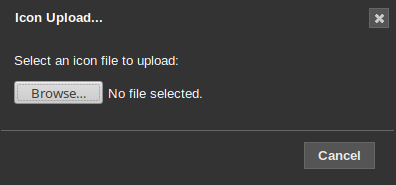
Then click on the browse button to upload your logo file (png, jpeg or gif format)…
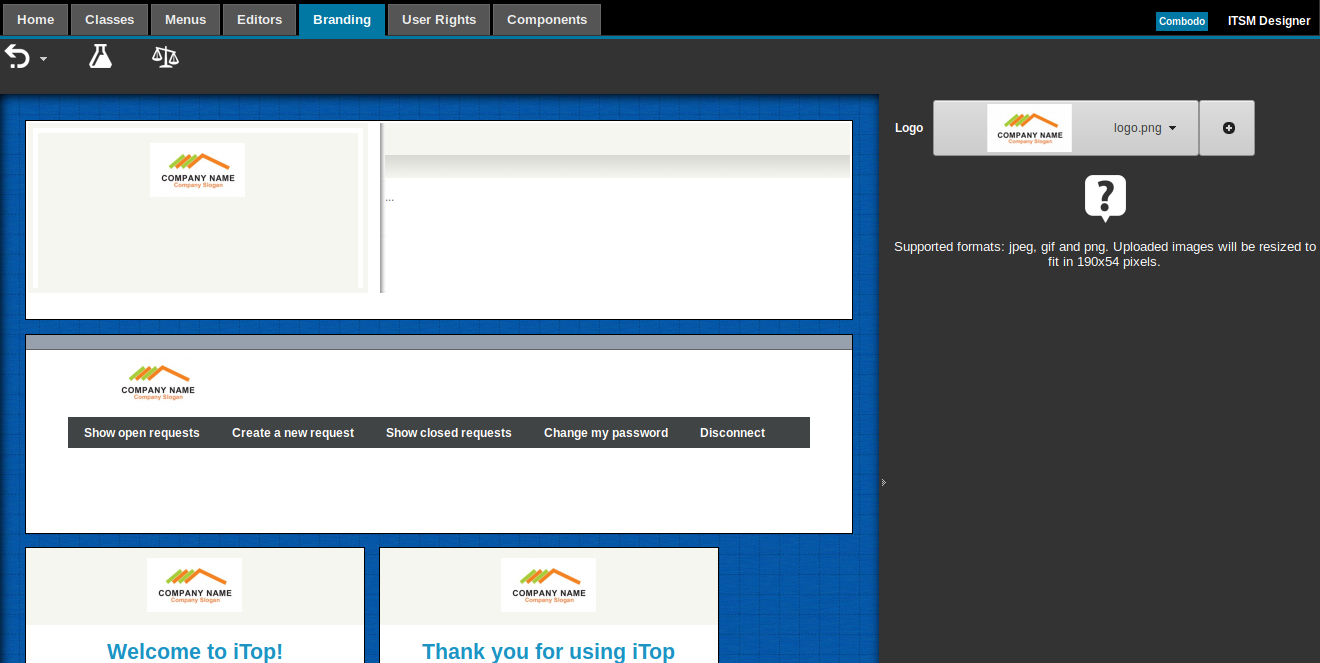
Your customization is taken into account in the previews…
Test your customization
In the upper toolbar, click on the Test button  …
…
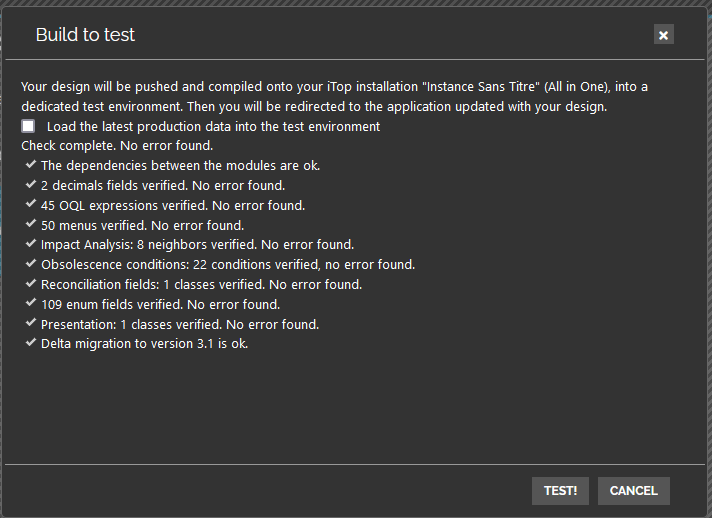
Click on Test!…
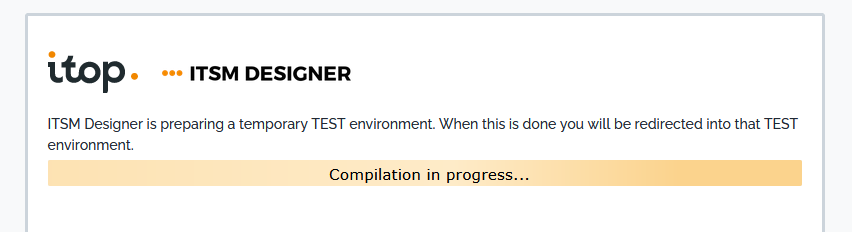
Once the test environment has been built, you are automatically redirected to that specific environment…
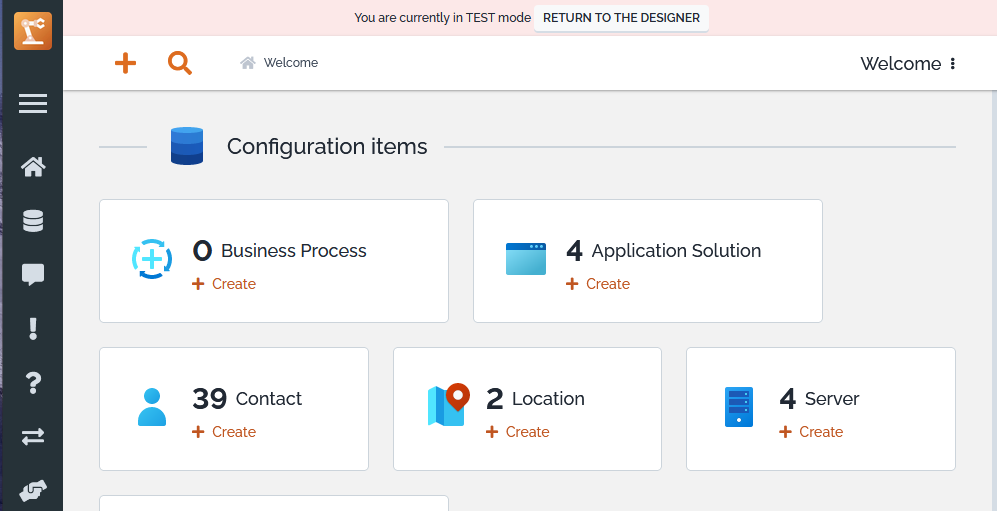
Check that the changes have the expected impact on the application. Our example is cosmetic and checking the outcome is obvious, but when it comes to creating new types of data, this feature really makes sense.
Move your customization into production
In the upper bar, click on Return to the Designer…
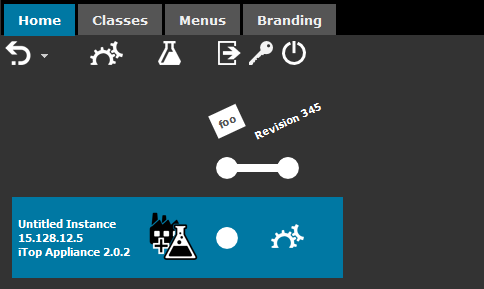
In the blue bar, click on the Move to Production button

Enter a comment to follow up with this official change (likely to be “Test” for this time… unless you are a creative person!)…
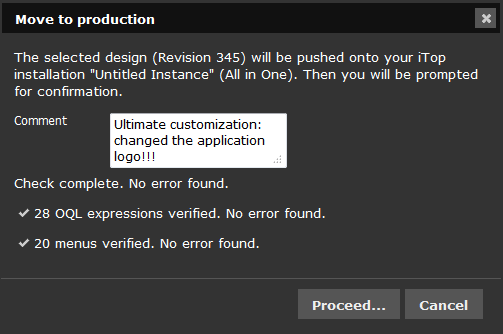
Click on Proceed…
And you are back to your iTop installation. This time, as you are doing something that will impact production environment, you are prompted for a confirmation.
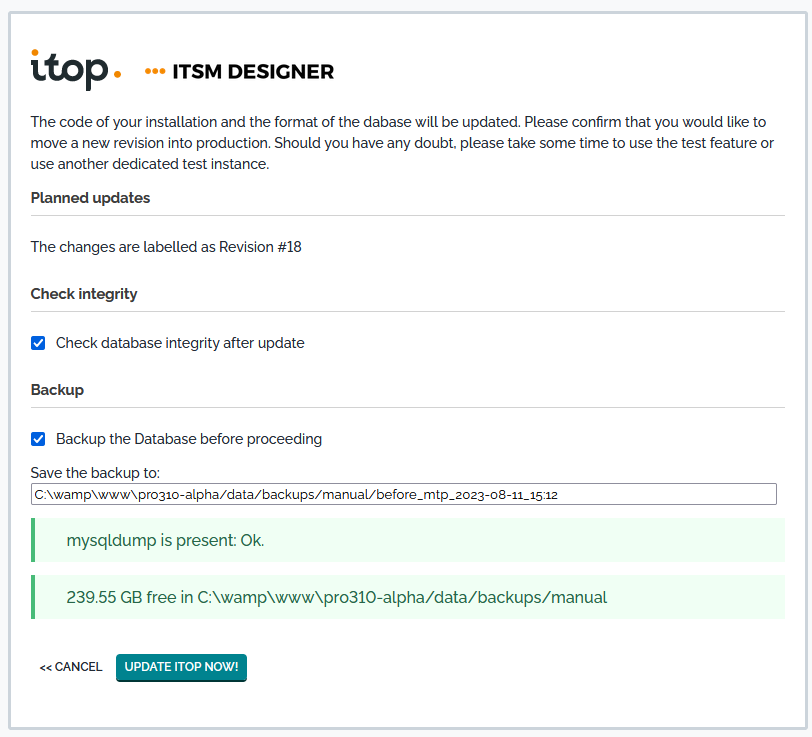
Click on Update iTop now!…
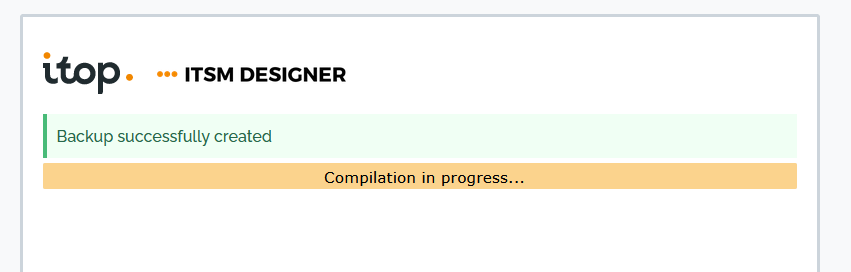
… until completion…
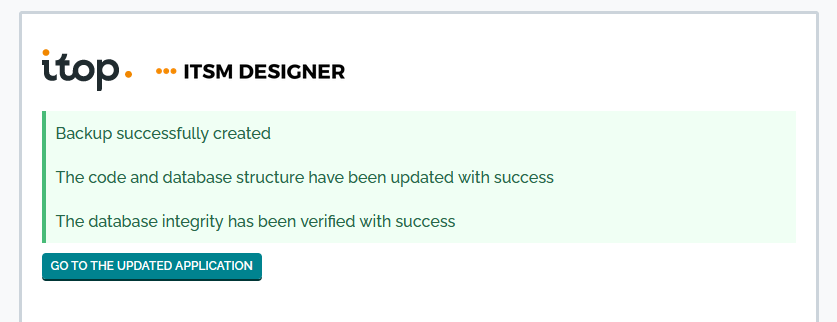
Click on Go to the updated application and ultimately check that everything went well!